
Hidden in handwritten recipe cards and the memories of master bakers lies a frosting so prized, so perfectly balanced, and so shrouded in a bit of mystery that it’s been nicknamed the “$300 Frosting.” This isn’t your standard buttercream. This is Ermine Frosting (also known as Cooked Flour Frosting or Boiled Milk Frosting), the original, less-sweet icing that graced classic Red Velvet cakes and countless birthday cakes for generations before American buttercream took over.
Why the mythical price tag? Because the recipe was often a closely-guarded secret, passed down as a precious heirloom. And once you taste it, you’ll understand its value. It’s luxuriously silky-smooth, whipped and cloud-like, with a flavor that’s rich but not cloyingly sweet. It’s the perfect frosting for people who find most frostings too sweet, and it pipes beautifully for stunning professional-looking cupcakes and smooth layer cakes. Consider this your key to unlocking a baking secret that’s worth its weight in gold.
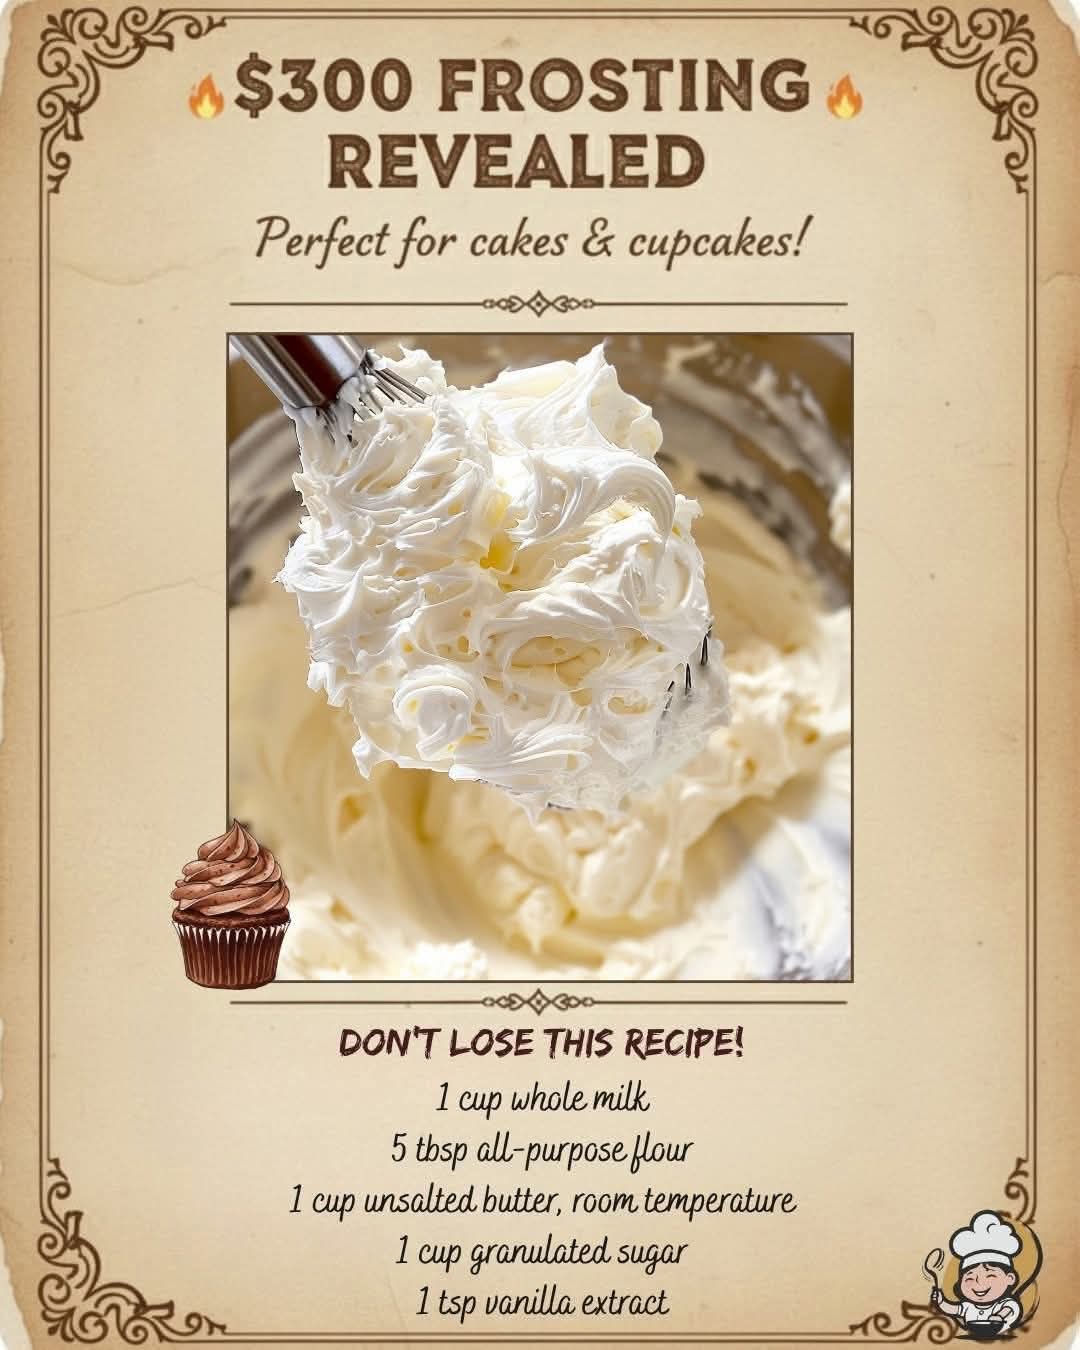
DON’T LOSE THIS RECIPE! It’s a game-changer.
Why This Vintage Frosting Beats Modern Buttercream
· Less Sweet, More Flavor: The sugar is cooked into a pudding-like base, mellowing its sharp sweetness and allowing the rich butter and vanilla flavors to shine.
· Unbeatable Texture: It whips up to an incredibly light, fluffy, and spreadable consistency that’s never greasy or gritty. It’s like spreading sweet, vanilla-infused clouds.
· Stability Champion: Unlike many whipped frostings, Ermine is stable at room temperature and holds its shape beautifully for piping borders and rosettes.
· The Historical Choice: This is the authentic frosting for Red Velvet Cake. Using cream cheese frosting is a modern adaptation; this cooked frosting is the true, tender pairing.
Ingredient Breakdown: The Simple Alchemy
The magic lies in cooking a simple roux-like paste that transforms into something extraordinary.
Whole Milk & All-Purpose Flour: This is the cooked base. The flour thickens the milk into a very thick paste or pudding (a panade), which, when cooled, stabilizes the frosting without any raw flour taste.
Unsalted Butter, Room Temperature: This is non-negotiable. The butter must be softened to the point of being pliable but not shiny or melted. It whips into the cooled flour paste, creating the frosting’s body and rich flavor.
Granulated Sugar: Unlike buttercream where you cream sugar with butter, here the sugar is cooked with the milk and flour. This dissolves it completely and eliminates any graininess.
Vanilla Extract: Use pure vanilla for the best flavor. This is the star accent.
The “Priceless” Ermine Frosting Recipe
Prep Time: 20 mins | Cook Time: 10 mins | Cooling Time: 1 hour | Total Time: 1.5 hours | Yield: Frosts one 2-layer 9″ cake or 24 cupcakes
Ingredients:
· 1 cup (240ml) whole milk
· 5 tablespoons (45g) all-purpose flour
· 1 cup (2 sticks / 226g) unsalted butter, softened at room temperature for 1-2 hours
· 1 cup (200g) granulated sugar
· 1 teaspoon pure vanilla extract
· Pinch of salt (optional, to enhance flavor)
Equipment:
· Small saucepan
· Whisk
· Stand mixer or hand mixer
· Heat-proof bowl or plate
Step-by-Step Instructions:
Cook the Flour Paste (The Foundation):
In a small saucepan,whisk the flour and about 1/4 cup of the milk together until a smooth slurry forms. This prevents lumps. Then, whisk in the remaining milk and all of the granulated sugar.
Cook to Perfection:
Place the saucepan over medium heat.Cook, whisking constantly, until the mixture thickens dramatically. It will go from milky to a very thick, pudding-like paste that holds its shape when you scoop the whisk through it. This takes about 5-8 minutes. Do not stop whisking, or it may scorch.
Cool Completely (The Patient Step):
Immediately scrape the hot paste into a shallow heat-proof bowl or plate.Press plastic wrap directly onto the surface to prevent a skin from forming. Let it cool to room temperature. You can speed this up by placing it in the refrigerator, but it must be truly at room temp before the next step (about 1 hour).
Whip the Butter:
In the bowl of a stand mixer fitted with the paddle attachment(or with a hand mixer), beat the softened butter on medium-high speed for 3-5 minutes, until it is very light, pale, and fluffy.
The Grand Union:
With the mixer on low,begin adding the completely cooled flour paste, one large spoonful at a time, making sure each addition is fully incorporated before adding the next. Once all the paste is added, scrape down the bowl.
Whip to Cloud-Nine:
Add the vanilla extract(and pinch of salt if using). Increase the mixer speed to medium-high and whip for a full 5-7 minutes. Watch the magic happen: the frosting will transform from a creamy yellow mixture to a voluminous, pale, and incredibly fluffy white frosting. It will nearly double in volume.
Use Immediately or Store:
Your$300 Frosting is ready! Use it to frost your cooled cakes or cupcakes. It spreads like a dream and pipes beautifully.
Pro-Tips for Flawless Frosting Every Time
· Temperature is Everything: The cooked paste MUST be at room temperature. If it’s even slightly warm, it will melt the butter and create a runny mess. The butter must be truly softened—if your finger leaves an indent easily, it’s ready.
· Whisk Constantly While Cooking: This prevents lumps and ensures even thickening.
· Whip, Whip, Whip: Don’t skimp on the final whipping time. This incorporates air and is essential for the iconic light texture.
· If it Looks Curdled: Don’t panic! This usually means the paste was too cold or added too fast. Just keep whipping on medium-high; it will almost always come together into a smooth frosting.
Flavor Variations & Customizations
· Chocolate Ermine: Add 1/4 cup (25g) of sifted unsweetened cocoa powder to the flour before cooking with the milk and sugar.
· Lemon or Orange: Substitute the vanilla with 2 tsp of citrus zest and 1 tsp of extract.
· Espresso: Dissolve 1-2 tbsp of instant espresso powder in the milk before adding the flour.
· Berry Frosting: Reduce milk to 3/4 cup. After cooking the paste, puree 1/2 cup of strained raspberry or strawberry reduction and whisk it in before cooling.
Storage & Make-Ahead Instructions
· Refrigerator: Store in an airtight container for up to 5 days. It will harden in the fridge. Before using, let it come to room temperature and re-whip with your mixer for 2-3 minutes to restore its fluffy texture.
· Freezer: This frosting freezes beautifully for up to 3 months. Thaw overnight in the refrigerator, then bring to room temp and re-whip.
· Frosted Cakes: A cake frosted with Ermine can sit out, covered, at cool room temperature for up to 24 hours. For longer storage, refrigerate.
Frequently Asked Questions (FAQ)
Q: My frosting is soupy/runny. What did I do wrong?
A:The paste was likely too warm when added to the butter, melting it. Chill the whole mixture in the bowl for 20 minutes, then re-whip. If that fails, it’s salvageable as a delicious ice cream topping or cake glaze.
Q: Can I use a different type of milk?
A:Whole milk is best for richness and texture. 2% may work but will be less rich. Avoid non-dairy milks unless you experiment, as they may not thicken the same way.
Q: Is this safe to eat since it has raw flour?
A:Yes! The flour is cooked with the milk, which pasteurizes it and makes it completely safe to consume.
Q: Can I use this for detailed piping?
A:Absolutely! It holds shapes like shells and rosettes very well. For very intricate work, you can chill the piped decorations for 10 minutes to help them set.
Conclusion: A Lost Art, Found
This “$300 Frosting” is more than a recipe—it’s a bridge to a classic era of baking where texture and subtlety reigned supreme. It may require one extra pot and a little patience, but the reward is a frosting of unparalleled elegance and taste. It will change the way you think about what belongs on a cake.
So, save this recipe, treasure it, and share it (or keep the secret!). You now hold the key to a frosting that truly is priceless.
Now, we’d love to see your creations! What did you frost with your vintage masterpiece? Tag us in your photos. And for more heritage baking recipes and frosting tutorials, be sure to explore the blog.
More Recipes You Might Like
-

Crock Pot Chicken And Noodles Belongs
The Ultimate Comfort: Why 4-Ingredient Crock Pot Chicken And Noodles Belongs in Your Weekly Rotation There is a specific, almost…
-

Carrot Cake Roll with Cream Cheese Frosting
The Swirl of Perfection: Why Carrot Cake Roll with Cream Cheese Frosting Is the Dessert That Steals the Show There…
-

LOADED CHEESY POCKET TACOS
The Handheld Fiesta: Why Loaded Cheesy Pocket Tacos Are the Dinner Revolution You Need There is a specific, almost primal…